inspiration for a new room / white vs. white

long story short let me just say that we're moving up three flights of stairs. moving up three flights of stairs means three bedrooms instead of two. three bedrooms means that i get my own room. my own room means that i get to design/decorate/make-it-awesome!

it's like the circle of life.

kinda.

can anyone guess how long it's been since i had my own room? let's see… i'd need about three hands...

10 years okay. 10. years. but, i have to say that this is a pretty fantastic high school freshman present for the new year!

anyways, let me show you some future planning i had in mind:

what i am really searching for is white on white on white on white on white. really simple, yet aesthetically pleasing. because i do not own a bed frame, my bed will be placed on the floor, which will give it a very home-y look, no? white duvets and sheets of course!

over the summer, i'm also planning on doing a few DIY room projects… a hanging clothing rack perhaps? it would add a comfy-bedroom feel to the room, as well as adding a little bit more hanging space.

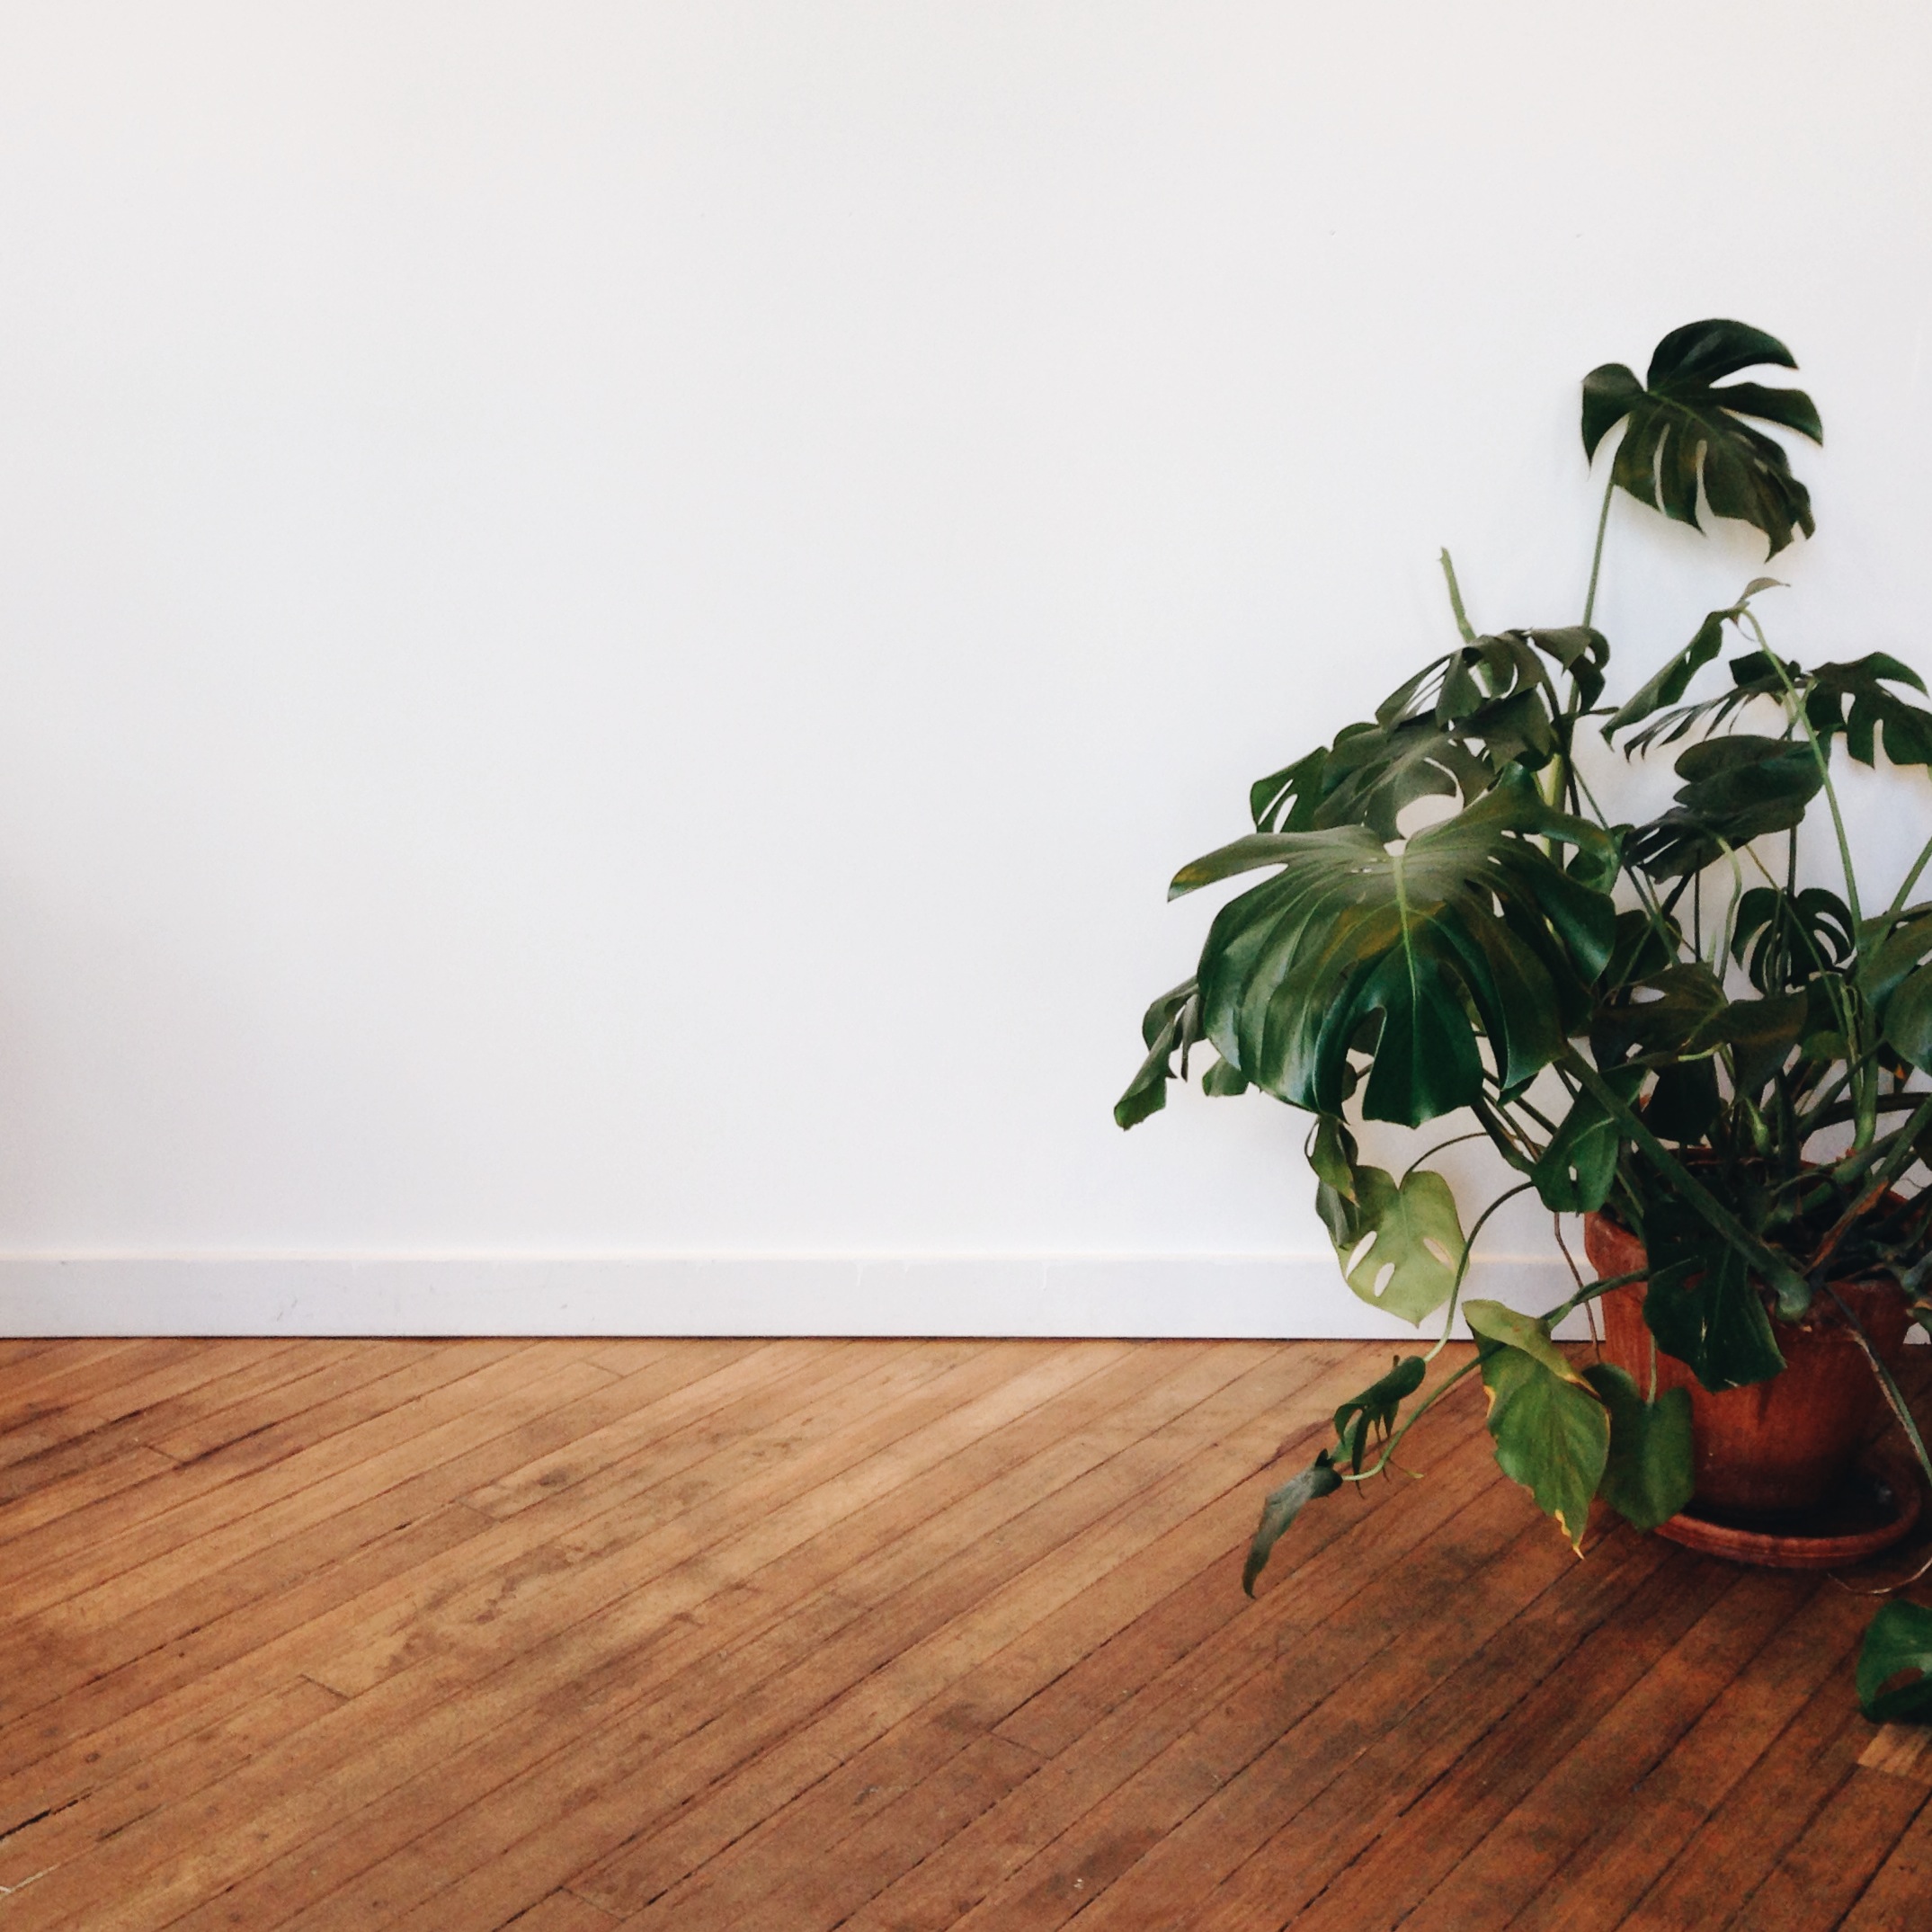
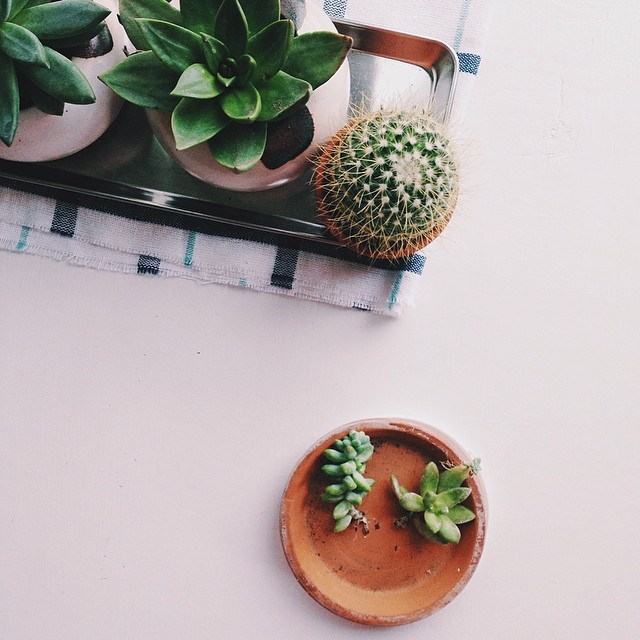
something else that completely caught my eye during my "inspiration search" are fig trees (or any sort of bedroom-safe plant for all that matter). a pop of green to the all white room would give a nice scandinavian-hipster vibe. (that is what is seems like i'm going for…) my always awesome dad actually bought me a hanging cement planter with air plants (!!) to hang in my new bedroom as well. plants and more plants for the win!

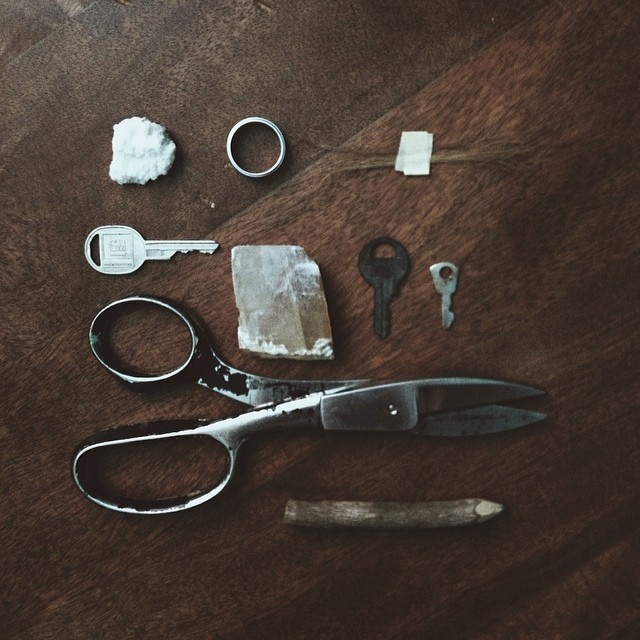
last but not least, i think what would tie my new room up nicely (maybe even with a bow), is some sort of inspiration/pinning board. if i can do it on pinterest, i could surely do it on a lovely board! i was brainstorming a few ideas of how it could work...

- a diy wooden board (like the one above)

- a whole cork wall

- a whole charcoal felt wall

- white magnet boards

the possibilities are endless… i guess i'll figure it out once we move.

until then, farewell and have a great rest of the week!


Posted on May 21, 2014 and filed under wishlist.

easily adaptable awesome cookies

another busy, busy week for this very unorganized soon-to-be high-schooler.

BUT. 

i have another cookie recipe

for all of you busy, busy people who are in dire need of something sweet

and if you tell me "no", here are a few reasons why you have to:

a) although you may be busy doing who know's what, you need your cookie fuel for the week

b) THEY'RE COOKIES AND I DON'T CARE IF YOU'RE ON THE PHONE WITH THE PRESIDENT OF THE UNITED STATES you HAVE to make these cookies

can we just admire this #almondmilkporn

yes.

yes we can.

it's just… i can't... no words.

of course in a bonne maman strawberry jam jar, because WHY NOT.

DSC_3897.jpg

in fact, you could even eat these cookies raw if you wanted to

hmmm… healthy cookie dough anyone? it's not like it hasn't been done before or anything...

BUT SERIOUSLY. GO TO YOUR KITCHEN AND MAKE THESE COOKIES

i am 99.99992% sure that you have all of these ingredients sitting in your pantry right now just waiting to be used for this very recipe.

yes.


the easiest easily adaptable awesome 5-ingredient amazing cookies, ever

adapted from the one and only minimalist baker


1 cup packed dates (preferably medjool + soaked in warm/hot water for at least 10 min)

1 medium/large ripe banana

2 tbs almond butter

3/4 cup almond meal

3/4 cup rolled oats

(optional additions: chopped dark chocolate, coconut, flame raisins, nuts, other goodness…)

00. preheat oven to 350 degrees F

01. drain dates, and put in a food processor until chopped into little bits

02. add banana and almond butter and process again until smooth

03. pour in almond meal and rolled oats and pulse until just combined

04. with a spatula, fold in remaining mix-ins

05. scoop a small handful of dough and roll them into small balls, and put on a cookie sheet lined with parchment paper. press down lightly on each dough ball, as they will not spread

06. bake for 15 minutes - 18 minutes

07. take out and let cool. then eat immediately.


the almond milk says "hi"

Posted on May 9, 2014 and filed under i make food.

this week in the city + link loves

hello! guess who's had one of the busiest weeks ever?

me.

so busy that i haven't written a blog post in over a week! 

so busy that i haven't baked anything this week!

so busy that i want to sleep all the time.

that kind of busy.

and yes, i know i am only fourteen years old, but it's pretty bad, okay?


but although it seems that i have no time whatsoever, i've taken a few photos here and there… (i guess i wasn't all that busy after all…) 

there was rain, and there was sun, and there were watermelons, and there were blossoms, and– well, you get the point.

and if you'd like to take a look at the few things that i've found interesting/note-worthy this week...


Posted on May 4, 2014 and filed under i share stuff, i take photos.

is almond butter better than peanut butter?

so i've been asked this question a lot...

"is almond butter better than peanut butter?"

and i say,

"well…"

and they say,

"well what?"

and then...

"well… it's different."

"different???"

"yeah, it's more… almond-y."

"what's that supposed to mean?"

"it's better than peanut butter. that's it."

and then they yell at me and exclaim that it could never be better than skippy peanut butter. but let me assure you. it CAN


especially when it is paired with maple syrup, a large dash of salt, and nutmeg.

(woohoo for nutmeg! bringing christmas to spring!!)

(plus it is super easy, and is probably 99.999999% better for you…)


maple + nutmeg almond butter


16oz raw almonds (or roasted)

1 tbs maple syrup

2 tsp ground nutmeg (you could also do cinnamon!)

1/2+ tsp salt

00. (if your almonds are not already pre-roasted) in a pan over medium heat, toast almonds until they begin to brown and turn golden, (and they don't taste like water as much)

01. blend almonds in a vitamix or powerful food processor for 10-20 minutes until it turns into a butter - there is the four stages: the flour stage, the paste stage, the ball stage, and then the butter stage… be patient!

02. add in nutmeg, maple syrup, and salt, and blend again. it will cease up into a paste ball and eventually turn into a spread stage… do not fear!

03. enjoy on a large slab of warm banana bread

 
Posted on April 27, 2014 and filed under i make food.

and i'm back

and i'm back from spring break! hoora- NO. 

back from break means back to school.

which means a lot less time to do things...

like baking stuff...

like baking granola...

so of course, the night before returning back to the school morning routine, i whipped up a batch of chunky fig, hazelnut butter, & quinoa granola. super good i must say. super DUPER good.

like so good that you will just scoop handfuls of this granola into your mouth kind-of good.

**slightly sweet, salty, crunchy – the whole SHEBANG. 

it's pretty awesome.


**just a side note: when i say slightly sweet, i mean not really sweet at all. if you'd like it to be sweeter, just add more honey/agave/maple syrup.

***adapted loosely from this recipe


1 cup rolled oats

1/2 cup uncooked quinoa

1/2 cup roughly chopped almonds (unroasted)

2 tbs homemade hazelnut butter (or other nut butter)

1/2 tbs olive oil (doesn't have to be exact)

1/2 tbs coconut oil

1 tbs agave/maple syrup/honey (any would work)

1 tsp+ salt 

5 large dried figs

1/3 cup flame raisins

00. preheat the oven to 350 degrees F + line a baking sheet with parchment paper

01. rinse quinoa in a fine mesh-strainer until water runs clear 

02. in a large bowl, combine quinoa, oats, and chopped almonds

03. in a small saucepan, melt together coconut oil, olive oil, hazelnut butter, and agave

04. once melted together, pour over quinoa/oats/almonds, add salt, and fold together until combined

05. in one layer, spread out the un-toasted granola onto the baking sheet

06. bake for 20 minutes, flipping granola about half way

07. for the last 5 minutes, add figs and raisins, and lower oven heat to 275 degrees F

08. once done, let cool, and store in an airtight container


ENJOY!

P.S. and maybe sometime next week i'll post the photographs i took in santa fe! have a great end of the week!

Posted on April 23, 2014 and filed under i make food.

and i'm off!


if you are reading this now, know that i am currently away in new mexico for spring break! aahhhhh, spring break! for 10 days!!

also know that i am most likely taking wonderful pictures to share with you all when i get back, so BE. EXCITED.


anyways...

all new yorkers can say that last weekend was a good representation of spring in its youth. meaning that there was sunlight, WARM sunlight, (didn't really get that quite often), and there are people walking in the streets without jackets on. and if you go to union square, there are people walking in the streets with no clothes on. so as much as you should enjoy spring, BEWARE.

last weekend, my lovely family and i walked approximately 5-ish miles just strolling along the east-side of manhattan. lower manhattan that is. we made visit to our favorite shops in the lower east side/soho/noho/downtown area. 

let me explain that these photographs are not in chronological order, so i will explain each shop and/or moment with scattered numbers. 

#01. a lovely breakfast of fresh bread from eataly, a ripe avocado, and a balsamic rainbow cherry salad

#10. a walk to saturdays. the hipster surf shop that sells really good coffee (??)

#09. a very bold graffiti wall in noho

#03 + #04. shop flowers and water towers viewed while walking — water towers are very interesting to west-siders i must add

#02 + #05 + #07. one of my favorite shops with the most beautiful light: project no. 8 — find your gadgetry and trinkets here! and very photogenic plants!

#06. creatures of comfort. aka my inspiration behind my url: common comfort. it is the most elegant and amazing store and has the best clothing and bags and weird rain hats. aka my kind of store. (*izzy stop using AKA*)

#08. actually a picture of the brooklyn bridge from that week (NOT SUNNY.) when the new jersey forest fire smoke had settled over manhattan and brooklyn.


until next time, farewell! and have a fantastic (hopefully) stress-free week!

Posted on April 17, 2014 and filed under i take photos.

probably the best flourless zucchini brownies, ever

** i do realize that the photo above reads "flourESS zucchini brownies". my apologies for my error.

but anyways,

you heard me.

zucchini brownies.

like there are green vegetables in these brownies.


but can you taste it? no.

but does it make these brownies totally delicious, and moist, and amazing, and absolutely scrumptious??

you guessed it!

IT DOES. and LOOK at the drizzle of coconut whip cream on that brownie. 

it's almost like they were made for each other. i ship it.


i'm suspecting that the majority of you will just end up closing the tab to these brilliant brownies, because it contains green things.

but to the few of you who a reading on… i congratulate you. you will be able to make awesome zucchini brownies after this.


(i forgot to mention that these brownies are vegan, gluten-free, flourless, and awesome)


brownies:

1/2 cup nut butter (i used leftover homemade cashew butter and hazelnut butter)

1/4 cup agave

1/2 cup finely smashed banana (about 1 large)

1 tsp vanilla extract

1/2 cup cocoa/cacao powder

1 1/2 cup shredded zucchini (from 1 medium-large zucchini)

3/4 cup oats (gf if desired)

1 tsp baking soda

1/4 tsp salt


coconut whip cream:

1 can full fat coconut milk

1 tbs sugar (or other granulated sugar)


for the whip cream:

01. the night before you make the brownies, or eat the brownies, place a can in your fridge.

02. the next day, gently take out the can, *do not shake it*

03. carefully turn the can upside-down and take off the top of the can using a can-opener.

04. in your sink, drain out the liquid at the top.

05. empty the dense coconut cream at the bottom of the can into a bowl, and whip it with sugar in an electric mixer, or by hand — (which is what i do to get those muscles pumpin')


for the brownies:

00. preheat oven to 350 degrees F

01. grind oats until ground into a fine flour (i used a bullet smoothie maker)

02. in a large bowl with a whisk, mix together nut butter, agave, the smashed banana, and vanilla. vigorously mix, until smooth. (optionally, you can use a standard mixer)

03. add in cocoa, oat flour, zucchini, and baking soda, salt, and mix again until well combined. it's okay if the shredded zucchini breaks up!

04. pour brownie batter into 9" x 9" pan (or close) and bake for 25-30 minutes. mine were perfect at 25, but my oven is ancient.

05. let brownies cool & top with coconut whip cream


have a fantastic weekend! (and a lovely spring break to all of you public school-ers!)

Posted on April 12, 2014 and filed under i make food.

link loves / 04.09.14

hello lovely people!

my dad was on the british virgin islands this weekend, and he sent me these pictures that are stunning. i mean, look at that water! soooooo blue. i hope i get the chance to visit at least once. from the photos, it looks like a serene paradise. really.

anyways...

it's not sunday, and it's not particularly friday… but it's time for some link loves to get you through the second worst day of the week.


that's all for now!

have a stress-free hump day everyone!


Posted on April 9, 2014 and filed under i share stuff.

oat & nib "blondies"

DSC_3527.jpg
GIF02.gif
gif01.gif

is it just me, or do all bakers eat their food while they photograph it? izy? does this ever happen to you? it happens every. single. time. (see first .gif for reference).

well i just created this whip-up-anytime recipe with some medjool dates i had bought from our family lunch date/shopping spree at eataly. medjools alone are soft and so incredibly sweet that you could enjoy them on their own, stuffed with almond butter, or even some homemade (1-hour ground in-frustration) hazelnut butter.

don't ask.

just know that my food processor broke, and my last resort was a magic bullet. yes. it was an hour or so.

but seriously, i've seen so many raw/non-raw bars using medjool dates, walnuts, cacao etc. so i knew i had to try to make something of my own.

oat & nib "blondies" + chocolate "frosting"


for the blondies:

1 cup packed + pitted medjool dates (soaked)

1 cup oats

1/4 walnuts or almonds

1/4 tsp salt

1/4 cup cacao nibs

handful of chopped figs (optional)

shredded coconut (optional)


for the frosting:

a ripe banana

heaping tbs cacao/cocoa powder


(00). bring a small pot of water to a bowl and pour over pitted medjool dates in a bowl. let sit for 3 minutes

01. in a food processor, blend oats, almonds, and salt until ground into a flour 

02. drain water from soaked dates, and add medjools. blend until a ball of dough is formed

03. add cacao nibs, figs, and other miscellaneous toppings that fancy you and pulse until just combined

04. in a small plastic container or tuppaware, place dough in center and firmly press down until it reaches the sides in an even layer

05. in the same processor (cleaned if necessary), blend banana and cacao powder until smooth

06. pour frosting over blondie and spread in yet another even layer

07. sprinkle with coconut and enjoy!

08. i recommend refrigerating it for at least 3 hours before eating, but you can eat it right then and there if you'd like!


have a fantastic and rain-free weekend everyone!

Posted on April 4, 2014 and filed under i make food.

moodboard : rainy weekend


what a murky weekend it's been here in new york city. besides the wind chills and constant drizzle, it's been a pretty good one. my mom and i celebrated this ominous weather by baking espresso chocolate cake and fig & walnut biscotti. yes. that's right. TWO baked desserts. 

we're still making our way through the (best-ever) chocolate cake before it goes bad. which will be easy.


since this blog is still in it's inception, this post is the first of its kind. moodboards.

colors, inspiration, lovely things, and basically anything that catches my eye when i scroll through my pinterest and/or tumblr feed. 

this moodboard is inspired by this northeast sprinkle storm. dark + natural tones, indoor baking, and fresh spring flowers, and of course, sweaters. and the somewhat mellow weather.


sweater / sea / brittle / coat / petals / mountains / fish tails


besides this moodboard, i'd like to introduce you to someone who i've been following for a while. 


valentina, also known as tuna (boon), has become an instagram sensation.

other than being the only thing that my LA friends talk about, man, can she sing. 

this girl has so much talent, it's un-explainable.

even though i do not know her personally, she seems like such a flawless character, and it would be pretty amazing if i met her the next time i visited los angeles.

which will be soon, i hope.


please listen to one of her soundcloud posts, it's very lovely.

Posted on March 30, 2014 and filed under moodboards, playlists.

a few friends

although we've never encountered each other face-to-face, i have photography-savvy friends around the world. i'm oblivious to the fact of how incredibly talented, creative, and committed each and everyone one of these splendid individuals are. from the united kingdom to the san francisco bay area to nevada, these young, humorous photographers are always striving for the finest capture.


top row: henry "howl" hemulen. curly-haired dreamer of the uk. aspiring to become one of the new york city folk, and meet alice gao. we call him "crumpet man" for obvious reasons.

middle row: dominic laxague. explorer of reno, nevada. obsessive over all plants, inside and out. always talks about how one day he will visit the great iceland. constant sweater-wearer.

bottom row: will suiter. adventurer of the san francisco sea. fog-follower. i'm absolutely positive he has a crush on each and every potted succulent plant alive. we call him "fish". also for obvious reasons.


i encourage all of you to explore their accounts on instagram, and follow their journeys around the corners of the globe. each of these gentlemen have many stories to tell in their square captures, and all have a stunning view of the world.

in many ways, i am jealous of how skilled and ingenious these fellows are, and someday i hope to master the fine art of photography just as they have. i also hope to meet them all one day.

but for now, we are currently curating and laying out our ideas for a magazine: articles on pot-plants, local restaurants, food, amenities, things we adore, and of course, our own photography. 

it is still up in the air, but just know that the three of us are hard at work! i will release more information about this soon-to-be magazine in a few more weeks. for now, be sure to follow the magazine's official instagram!


until then, have a lovely start of spring!

Posted on March 22, 2014 and filed under i share stuff.

olive oil oatmeal cookies

good morning from new york! it's been such a great weekend… baking… indoors… while the sun is out and it's the first time in months where the temperature has actually peaked 50 degrees. yup, i know, BAKING IS TOTALLY WORTH IT. the feels, people! the FEELS!

anyways, i haven't shared my favorite links from this week…

my favorite song for this week is seriously amazing, and you should listen to it….


moving on...

woahahahhhhh.

i don't think it can get better than these babies right here.

(hint: roll over the image below with your mouse)

INSTANT BAKING. yeah, that's right. throwing some of my html skills at you.


here we are. with these fantabulous cookies. i mean just YOU and these cookies. because once you eat them you'll be tempted to eat them ALL. 

but that's okay. *whispers* because they're healthy.

*continues whispering* and they're flourless. and vegan.

*dracula laugh*


olive oil oatmeal cookies – w/ toasted coconut, raisins, cacao nibs, and anything else you can think of

makes 12-16 cookies

adapted from mangia

1 1/2 cups rolled oats (gluten-free if necessary)

1/2 tsp baking soda

1/2 tsp salt (or less if you don't like the sweet-salty profile)

heaping 1/2 tsp cinnamon

1/4 cup brown sugar

2 tbs olive oil

1/4 cup + 1 tbs unsweetened almond milk (more if needed)

1/4 cup raisins

large handful of cacao nibs

1/3 cup toasted coconut flakes (on a pan on medium-high heat, toast coconut flakes for about 3 minutes, or until golden)


00. preheat oven to 375 degrees

01. use a food processor to grind the oats, baking soda, salt, cinnamon, and brown sugar into a fine flour

02. pour "flour" into a large bowl and fold in olive oil, almond milk, and raisins, and cacao nibs

03. gently fold in coconut flakes, as not to break them (entirely)

04. take small piece dough, and roll into a ball (be sure to taste test, just to make sure that it's not poison or anything…) and place on a baking sheet. repeat.  

05. flatten balls into round disks (unless you want baked cookie truffles, which is totally OK.)

06. bake in the oven for 6-8 minutes. i baked mine for 7.

07. eat.

Posted on March 15, 2014 and filed under playlists, i share stuff, i make food.

healthy(er) honey-roasted cayenne almonds (+ walnuts)

DSC_3360.jpg

goodness gracious me.

DSC_3362.jpg

delicious, crunchy, sweet, spicy, and salt-y. (ha! it rhymes…)

DSC_3368.jpg

the magnifying-circle-thingys practically speak for themselves!

this honey nut mix is a delectable after school/work snack that can be made in a spiffy, (which is perfect for people with homework to do. like me).

although these may be healthier than the typical handful of candied mixed nuts, they still have a lot of sugar because of the amount of honey in the recipe. (but still, they're scrumptious, so who cares).


honey-roasted cayenne almonds (+walnuts)


1/4 cup honey

1 tsp ground cinnamon

1/2-1 tsp cayenne

1 heaping cup whole almonds

1/2 cup walnuts (whole or pieces)

1+ tbs sesame seeds

1 tsp salt

01. preheat oven to 325 degrees F. line baking sheet with parchment paper

02. in a pan/skillet on low, warm honey, cinnamon, and cayenne. (make sure the honey does not burn) (note: i sprayed the pan with canola oil so that the honey wouldn't stick to the pan)

03. once honey is warm, add almonds and walnuts, and coat in the honey

04. remove from heat, and spread an even layer of the sticky nuts on baking sheet

05. sprinkle with sesame seeds and salt. bake for 15 minutes. remove from oven and let cool for at least 1 hour (or until hardened)

06. endlessly snack!

 
Posted on March 11, 2014 and filed under i make food.

oh, clementine

02.jpg

hello all!

as a lot of you may have noticed, i've changed platforms. which means that this blog is no longer supported by tumblr. to celebrate, my lovely mother and i created this scrumptious clementine cake. just for all of you clementine lovers to enjoy.

okay, i lied. this cake wasn't exactly to celebrate my only somewhat successful platform transfer, but for a little party we were throwing at our apartment for a family-friends meet last night.

either way, i'd like to think it was for my success.

anyways, just look at this cake! i don't think there is a single flaw in this cake (other than the melting glaze that ended up soaking into all of the little holes in the cake and moistening it up. wait, there's a flaw in this flaw...)

BUT SERIOUSLY. CITRUS PEOPLE! CANDIED CITRUS! and CLEMENTINES! and KUMQUATS! i'm telling you now, no faults in this (delightful and aromatic) cake. 

just a little frosting porn (?!) for you all before adding the citrus slices… 

as well as the finished piece, whose pictures are not as cheery because of the winter-where-the-sun-lasts-ten-minutes sunlight. 

drip.gif

and the drip… 

and the finale...


almond clementine cake 

adapted from call me cupcake

makes 12-14 servings

the cake:

6 clementines

6 eggs

1 cup + 2 tablespoons sugar

2 1/3 cup almond flour

1 heaping teaspoon baking powder


the candied citrus:

2 clementines

a lemon

a lime

1/2 punnet kumquats

1 cup water

1 3/4 cups sugar


the icing:

1 1/2 cups powdered sugar

1-3 clementines

the cake:

01. place the clementines in a pot of water (enough to cover), bring to a boil, and cook for 2 hours (submerged). drain. when cooled,  mash/chop/process (juice, pith, peel, and all).

02. preheat oven to 375 degrees F

03. butter a springform pan (8-inch, or 9-inch)

04. in a standard mixer, beat eggs. add sugar, almonds, and baking powder. mix. add in clementine mixture, mix.

05. pour cake mixture into springform, and bake for 40-50 minutes on the middle oven rack. (start checking for doneness at 35 minutes with a skewer/toothpick)

06. remove cake from oven, and let cool on a rack, (cake still in the pan)

07. once completely cooled, remove cake from springform


the candied citrus:

01. slice clementines, lemon, lime, and kumquats thinly (as thin as possible without breaking the shape)

02. bring sugar and water to a boil in a rimmed saucepan. add sliced citrus and let simmer for 20-25 minutes. remove and let cool on parchment paper.


the icing:

01. sift powdered sugar in a large bowl. cut clementines in half, and squeeze juice into bowl like a lemon. start with 1 clementine, and add more until the desired consistency is reached.

02. pour over cake, let harden.

03. add candied citrus over top

Posted on March 9, 2014 and filed under i make food.

wants + wishes

wants + wishes.jpg

       01    /    02    /    03    /    04    /    05    /    06    /    07    /    08    /    09

Ever since discovering for my love for photography, I’ve also discovered my love for modern-antique kitchen gizmos, like the ones above.

The simplicity. The modern-esque home-y looking mugs and vases, it’s all incredibly visually appealing to me. Very. Appealing.

  1. Everyone needs a handmade wheel-thrown mug in their life
  2. A signed copy of Vegetable Literacy by Deborah Madison – get your education on vegetables, and eat them too
  3. The Market Bag; the iconic fold and shape of a brown paper bag, now waxed and sturdy, and perfect for your lovely food goodies
  4. A citrus wreath to brighten up your kitchen
  5. The beautiful Folded Bowls, to fold into the palm of your hand. Perfect for feeling the warmth of your soup in the cold winter.
  6. An enamel Butter Warmer. Because who doesn’t love butter?
  7. A minimal stoneware flower vase for your bare dining table
  8. A color-dipped baking dish – that pop of color is exactly what your kitchen’s been missing
  9. Apple-a-day lamp. This quirky lamp is made from an apple juice jar, and it’s at the top of my wish list. (Says something, doesn’t it…)

These things are currently on my priority wish list (especially number 09)! The following items are available for purchase at Food52’s Provisions shop.

Hope you have a great weekend!

Posted on March 6, 2014 and filed under wishlist.

maple buckwheat clusters

hand.jpg
parfait.jpg

look at that par-fait!

it’s the recipe you’ve all been waiting for!

maple-cinnamon buckwheat clusters aka the “gold” aka izzy’s golden goodness aka i-just-created-my-own-recipe-and-i-am-so-proud-of-myself clusters.

i’ve been reading a lot of recipes for buckwheat groat granola, and a lot of them require a dehydrator, a machine that i wish i owned. and recently i’d seen gracie’s comment that said she toasted hers on a pan. so i thought “why not?”.

…although, mine are clusters…

izzy’s golden goodness maple-cinnamon buckwheat clusters


a large quantity of buckwheat groats (you can find them in the bulk section at whole foods)

1/2 - 1 tsp cinnamon

1+ tbs maple syrup

01. preheat oven to 350 degrees fahrenheit, and line a baking sheet with parchment paper

02. on a pan at medium-high heat, toast your buckwheat groats and cinnamon, making sure that all of the buckwheat is evenly toasted

03. once toasted, pour your maple syrup over the buckwheat (the pan should sizzle, and the syrup should bubble a bit)

04. stir the buckwheat groats so that clusters begin to form. it’s okay if some of the groats don’t cluster-up

05. put your sticky buckwheat clusters on the already lined baking sheet

06. bake in the oven for 10-15 minutes, or until the clusters are hard and crunchy

07. eat, nibble, and enjoy

Posted on March 3, 2014 and filed under i make food.

only in brooklyn

DSC_2974.jpg
DSC_3002.jpg
IMG_6063.jpg
IMG_6065.jpg
IMG_6072.jpg
IMG_6073.jpg

yesterday (or a few weeks ago), we took a trip to williamsburg, brooklyn (aka the most hipster-y hipster place that i know in all of new york). if i could live anywhere else in the city, it would be here. 

first, we headed to breakfast; to a spot you’ve most likely have already spotted on this blog.

its name: reynard , [and to this day, it’s my (second) favorite brunch spot]. 
its location: the wythe hotel on none other than wythe street on the outskirts of williamsburg. 

any place with a choice of steel cut oatmeal for brunch is bumped up to the top of my favorites list. it just so happened that reynard is one of them, and i got just that. mmmm, creamy steel cut oatmeal with sautéed apples and cinnamon. even though we could easily make this at home, it was completely worth every penny.

after our beautiful, sun-lit breakfast, we made our way to the heart of williamsburg, where we visited a few of my favorite spots:

i think i will be coming here again, to explore new places. until then, stay tuned.


Posted on February 2, 2014 and filed under travel, i take photos.